How To Make a Pagecloud Website: A Step-by-Step Guide
As a small business owner, you likely have very little time to create a website and few resources to hire a professional web designer. This is where Pagecloud comes in. The Pagecloud website builder allows users to create their own sites quickly and effectively with customizable templates. It also has diverse ecommerce tools to help you build your own online store.
This guide will show you how to make a Pagecloud website. We will cover everything from signing up, getting an online store running, and publishing your website in just five simple steps.
Still looking for the right website builder for you? Check out our Best Website Builder of 2023 review.
Before You Begin
Before you start building your business website, take a little time to create a plan for its overall design. This includes outlining how you want it to look and what functions it’ll need to serve your business goals. As tempting as it is to jump right into building your website, a little planning here will go a long way.
If you want some assistance with this, check out our other helpful articles:
5 Steps to Make a Pagecloud Website
As we stated at the top, the Pagecloud website builder is a useful tool for creating a variety of types of business websites. With its ecommerce functionality, Pagecloud is one of the most versatile builders around. Here, we will walk you through the five easy steps to building a comprehensive business site with Pagecloud.
Skip Ahead
Step 1: Create a Pagecloud Account
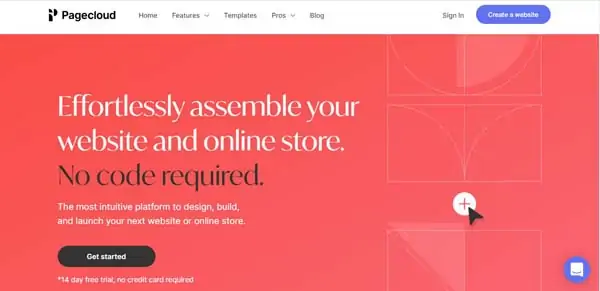
Go to Pagecloud.com and click on the “Get Started” button. Enter all the required information (e.g., your name, email address, and a password), and then click on the “Continue” button. Next, you’ll need to answer a few short questions before clicking on the “Continue” button again to create your account.
You also may sign up for Pagecloud using your Facebook or Google account as your login information. All new users automatically receive a 14-day, free trial without the need to provide a credit card number.
Step 2: Choose a Pagecloud Template
Next, you’ll reach a screen where you can either choose a premade website template or start from scratch by clicking on the “Skip ahead and experience the editor” box.
Pagecloud offers countless template options and designs with themes based on your needs (e.g., “Business,” “Fashion & Beauty,” and more). For the best results, start with a premade template and customize it later.
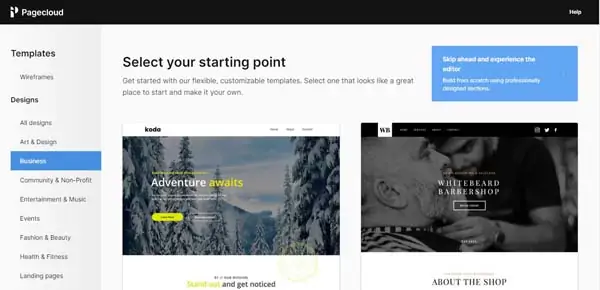
Use the “Preview” option to review individual templates to ensure you pick the one best suited to your small business. Once you find your preferred template, simply click on the “Select” button to proceed to the next page.
After you select your template, the Pagecloud website builder will ask you to choose a name for your website. Choose a name that fits with your branding and select “Continue” to proceed to your website’s “Editing” dashboard.
Looking for design inspiration? Take a look at these Pagecloud website examples to see what your new website builder is capable of!
Step 3: Customize Your Pagecloud Website
Once you select a name for your website, your browser will automatically navigate to Pagecloud’s ”Editing” dashboard. Here, you can adjust various elements of your website as much as necessary to suit your needs.
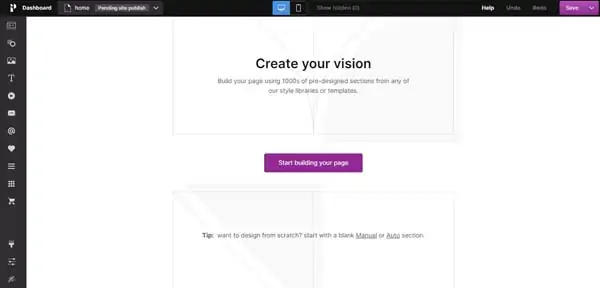
Begin by choosing your content layout. The “Auto” option will adjust your content to fit on all devices. The “Manual” option allows you to place objects anywhere in a column, but visual changes can occur when your online visitors’ devices don’t support full width or height sections.
Using the menu box on the right side you also may customize the column background and corners; the section name, background, border, and padding; and the number of columns in the layout as well as their height and width. At the top of the dashboard, you’ll find two icons that allow you to edit your website design for both mobile and desktop screens.
Modify Site Colors
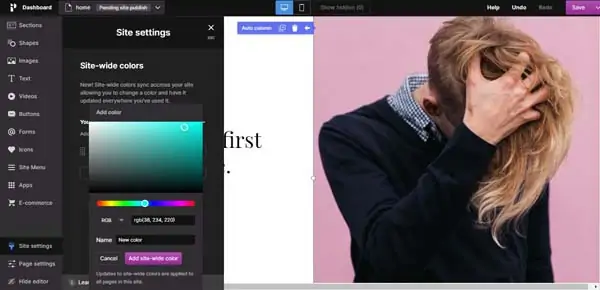
In the lower-left corner of the “Editing” dashboard, you’ll see a “Paintbrush” icon on the “Site settings” tab. Click on that tab to open the “Site settings” menu, and then click on the “Add site-wide colors” button. This’ll open a full color palette.
Choose a color within that full color palette to use across your site and assign it a name. Once you select your preferred color, click on the “Add site-wide color” button and it’ll sync across your website and update wherever you use it going forward. You also may modify the colors used on your website in the “Page settings” tab below the “Site settings” tab.
Learn why it's important to have a cohesive color scheme for both your business branding and website. Check out our Website Color Palette guide for more information.
Add New Text
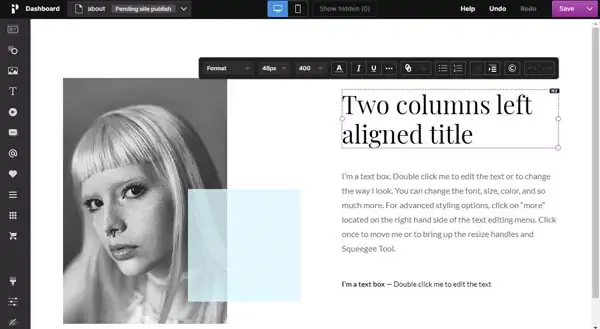
To add text, simply click on the “T” icon in the “Editing” dashboard’s left-hand menu. A menu will then open with a number of different types of text formats you can incorporate into your website. The available formats include headings from level one to five, large and small paragraphs, bulleted lists, and numbered lists.
Once you select your preferred text format, click on the new text box to view a full menu of options. Use the pop-up toolbar that appears above the text box to edit the font, font size, and font weight as well as the text color, style, indentation, and variety of other customization options.
To modify your site’s built-in homepage header, click on it to open a pop-up toolbar above that header and adjust accordingly.
Next, update the rest of the text on your website to align with your business’s branding by clicking on individual text boxes and replacing the existing text with your own. Do this everywhere you find placeholder text on your website template — including all contact information — to ensure your site displays consistent, accurate text.
Make sure your font is cohesive and represents your branding. Check out our Best Website Fonts guide to learn more.
Update the Images
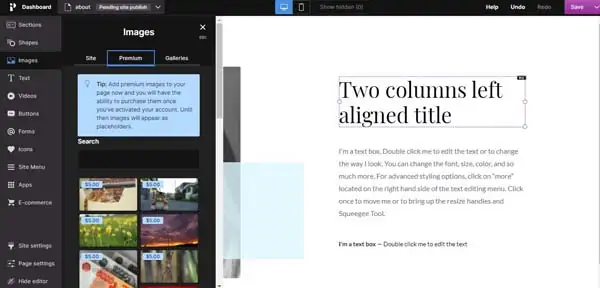
To add or replace existing images, click on the “Images” tab (the one with the “Painting” icon) in the “Editing” dashboard’s left-hand menu. This’ll open an “Images” menu. To use images consistent with your branding, click on the “Upload Image” button under the “Site” tab in that menu. Use this menu to add your logo and any other images relevant to your business.
You also may browse through Pagecloud’s selection of images by clicking on the “Premium” tab in the “Images” menu and scrolling through the options or entering a keyword in the search box. If you wish to add a photo gallery to your site, click on the “Galleries” tab. Next, select the type of gallery that best meets your needs, and then click on and drag your selection over to your page.
Customize the Columns
The Pagecloud website builder also enables you to modify the background of each column on your site. Simply click on a column, and then use the menu that opens to adjust the settings by clicking on the “Column background” tab. Next, select either an image, gradient, or a color for your background. As a best practice, choose only one of these options.
To choose an image, click on the “Image” tab and then select an image with dimensions that’ll fit within the column. To choose a gradient, click on the “Gradient” tab and modify the color and scale according to your preferences. If you want to work with a color, click on the “Color” tab and choose a color consistent with your business’s branding.
When working with colors, you can adjust their opacity and choose from your list of “Site-wide colors” to fully customize your selection.
Add Apps and Forms
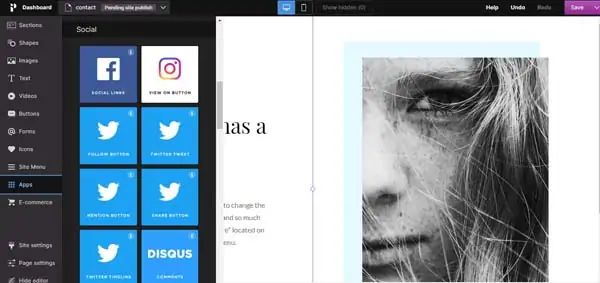
Click on the “Apps” tab (the one with the nine-dot icon) in the “Editing” dashboard’s left-hand menu. This’ll open a menu of drag-and-drop icons you can use to link your site to a variety of apps. For example, you can use these icons to link to your social media accounts and/or Google Maps™ to give visitors directions to your business if you operate a physical location.
Click on the “Forms” tab (the one with the “@” symbol) in the “Editing” dashboard’s left-hand menu. This’ll open a menu of drag-and-drop forms you can use to serve a variety of needs for your small business. For example, the options include contact, rating, R.S.V.P., reservation, job application, appointment, newsletter, and registration forms, among others.
You also can add a blank section and customize it, as desired.
Add Other Elements
If you want to add other elements to your website, simply click on the relevant tab in the “Editing” dashboard’s left-hand menu. For example, you can use the “Shapes,” “Icons,” and “Videos” tabs to add a variety of shapes, icons, and/or videos to enhance your website’s overall design.
Just browse through the available options for your desired element, click on your selection, and then drag and drop it onto your page.
In addition to text, images, forms, and apps, the Pagecloud website builder offers these other elements:
- Sections
- Shapes
- Videos
- Buttons
- Icons
- Site Menu
Customize Page Settings
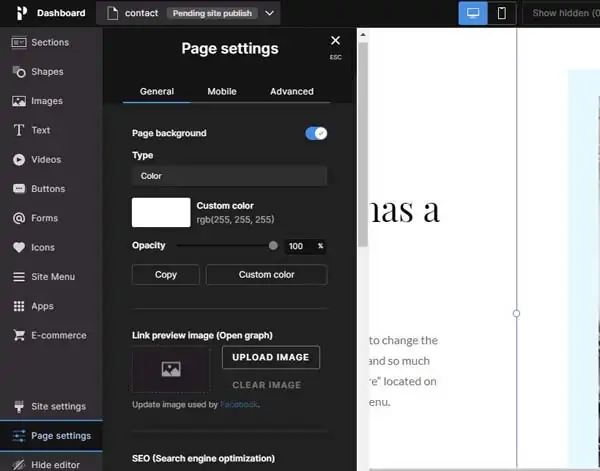
Beyond editing a page’s background, the Pagecloud website builder enables you to modify a number of other page settings by clicking on the “Page settings” tab in the “Editing” dashboard’s left-hand menu.
This’ll open the “Page settings” menu from which you can upload a preview image that’ll appear on search engines when potential customers look for your business online. You also can enhance your site’s search engine optimization (SEO) by adding a page language, description, and keywords.
Preview Your Work
If you like the look of your recent customizations, click on the “Down Arrow” icon next to the “Save” button in the upper-right corner of the dashboard to preview your work. This’ll allow you to see exactly how your site will appear to online visitors.
If something doesn’t look right, go back and fix it before you launch your website. Please note that these are just a few of the common tasks you’ll want to learn in order to create your new Pagecloud website.
For a more detailed tutorial on specific features, read our How to Use Pagecloud article.
Step 4: Create an Online Store with Pagecloud
The Pagecloud website builder’s ecommerce tools make it easy for you to sell products and services on your website. That’s why Pagecloud is one of the most attractive options for business owners seeking to accept electronic payments on their websites.
To start creating an online store, click on the “E-commerce” tab at the top of the “Main” dashboard. Next, click on the “Create a store” button. This’ll open a menu on the left side of the screen with various tools to help you create and maintain your digital storefront.
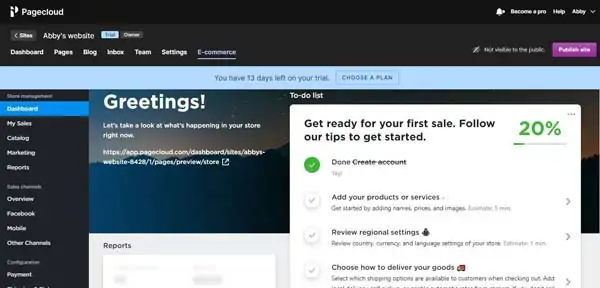
Leverage Store Management Tools
A well-run store requires effective management. That means you’ll likely spend lots of time using the tools in the ecommerce menu’s “Store Management” section once you establish a digital storefront. Each of these tools serves a separate purpose, including:
- Dashboard: This enables you to quickly view your online store’s settings, high level performance reports, and sales.
- My Sales: This tool helps you track orders and abandoned carts as well as manage your online customers.
- Catalog: Use this tool to add products as well as create gift cards and product categories.
- Marketing: This tool can help you promote your online store with an ecommerce marketing checklist and a range of tools to help grow your business, including traffic tools like Google and Facebook ads, as well as providing the option of adding coupons and discounts.
- Reports: Use this reporting tool to analyze your store’s performance, including its sales data.
Add Sales Channels
Successful businesses know how to leverage multiple sales channels. The ecommerce menu’s “Sales Channels” section offers the following tools to help you make the most of your ecommerce site:
- Overview: This tool provides information to help you learn how to effectively sell goods and services online.
- Facebook: Use this tool to connect your online store to a Facebook business page.
- Mobile: Use this tool to download the Pagecloud app so you can run your online store on the go.
- Other Channels: This tool enables you to sell your products through other channels, including Amazon and Instagram.
Configure Ecommerce Functionality
Before you start selling anything on your new website, you must first configure its ecommerce functionality. The ecommerce menu’s “Configuration” section includes the following tools designed to help you offer your goods and services online:
- Payment: This tool enables you to set up a variety of payment options from which your customers may choose.
- Shipping & Pickup: Use this tool to select the shipping and in-store pickup options that best suit your business.
- Settings: This tool enables you to give your store a name, link it to your tax information, and set up notifications (e.g., email notifications of customer purchases).
- Apps: Use this tool to link your online store to your business’s social media accounts for a fully integrated experience.
Add Products
The Pagecloud website builder gives you two different ways to add products to your online store’s inventory.
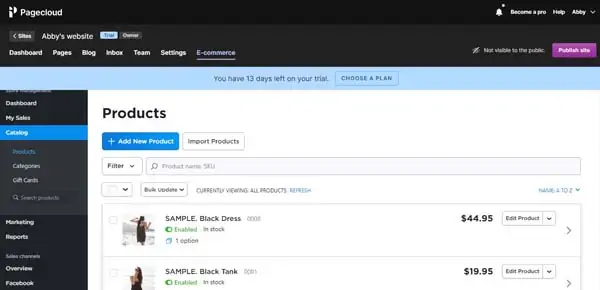
The first option involves adding individual products by clicking on the “Catalog” tool in the ecommerce menu’s “Store Management” section. Next, click on the “Products” link in the drop-down menu that then appears followed by the “+ Add New Product” button.
Enter all the relevant details for your product before clicking on the “Save” button. You can then click on the “Preview” button to view the product as it’ll appear to your online visitors.
The second option involves adding products in bulk. To do so, click on the “Catalog” tool in the ecommerce menu’s “Store Management” section. Next, click on the “Products” link in the drop-down menu that then appears followed by the “Import Products” button.
Now, click on the “Choose File” button and upload a comma-separated values (CSV) file from your device. You also may use an X-Cart® or LiteCommerce file. Select the delimiter used in your file (e.g., a comma, semicolon, or tabulation) as well as the character encoding. Arrange the columns to mirror your file and uncheck any columns the file doesn’t use.
Step 5: Publish Your Pagecloud Website
Once you’re happy with your new website and digital storefront, it’s time to go live.
Purchase a Plan
While Pagecloud offers a free trial that allows you to design your website without spending a dime, you must purchase a Pagecloud premium plan in order to publish your site. These paid plans each offer their own benefits and target a specific user audience.
The Pagecloud Small Business plan, for example, typically works well for startup entrepreneurs — unless they represent a marketing team or agency. In that case, those entrepreneurs might instead opt for the Pagecloud Pro plan. Alternatively, the mid-range Pagecloud Business plan ideally suits companies with larger teams.
As you consider which plan is right for your business, keep in mind that the Pagecloud Small Business plan doesn’t include some ecommerce features.
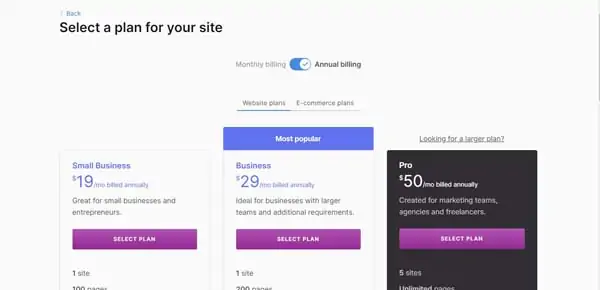
Once you select your plan, click on the “Select Plan” button. You’ll then arrive at a page where you can choose the duration of your plan, enter your payment details, and then check out. When you finish this process, simply click on the “Subscribe Now” button.
Choose a Domain Name
After you purchase a plan, the Pagecloud website builder will prompt you to pick a domain name. Enter your desired domain name in the search bar and Pagecloud will let you know if it’s unavailable.
If someone else already claimed your desired domain name, try several alternatives until you find one that’s available and suits your business.
Launch Your Site
All that’s left now is to go live. Simply click on the “Publish Site” button in the upper-right corner of the “Main” dashboard.
Great work! Your website is now available for the whole world to see — along with all of your available products and/or service offerings. You can now get down to business.
Final Thoughts
Using the Pagecloud website builder, you can design a high-quality, high-performance website with an effective and integrated digital storefront. Moreover, you can accomplish all this in less time than a professional designer would need at a fraction of the cost.
To optimize your new small business website’s capabilities, check out our in-depth guide to How to Use Pagecloud.
Looking for more information on Pagecloud? Use these helpful articles to find what you need: